As a proud car owner, there’s nothing quite as disheartening as discovering an unsightly dent on your beloved vehicle. Whether it’s a result of an unfortunate encounter with a stray shopping cart or a minor fender bender, dents can mar the appearance of your car and dampen your driving experience. Fortunately, you can restore your vehicle to its former glory with the right knowledge and tools. In this guide, we’ll walk you through the step-by-step methods for dent removal, highlighting the use of auto body fillers and auto dent repair techniques.
Understanding Dent Removal
Dent removal is a process that involves restoring the original shape of a vehicle panel after an impact has deformed it. While some minor dents can be fixed through DIY methods, it’s important to assess the severity of the damage. For major dents or those that have caused paint chipping, it’s best to consult a professional auto body repair shop for a comprehensive assessment.
Step 1: Assess the Dent
Before diving into the dent removal process, examine the damage closely. Determine the size, depth, and location of the dent. This initial assessment will help you decide whether you can fix it independently or need professional assistance. Safety should always be a top priority, so if the dent is near a sharp edge or on a complex body panel, it may be best to consult an expert.
Step 2: Gather the Necessary Tools
To effectively remove dents, having the right tools at your disposal is important. Here are some of the essential tools you’ll need:
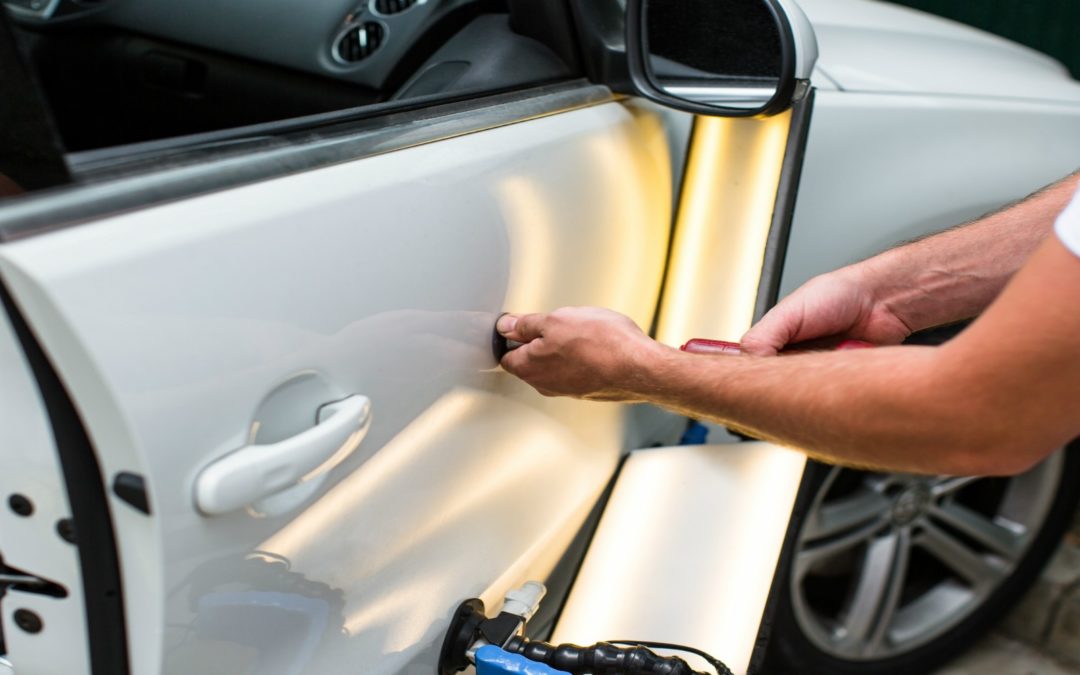
1. Dent Puller: A dent puller is a device that uses suction or adhesive to pull out a dent from the surface of your vehicle. It’s suitable for shallow dents and can be found at most auto supply stores.
2. Body Filler: Auto body filler, or Bondo, is a versatile material used to fill in dents and imperfections. It’s essential for repairing deeper dents and creating a smooth surface for painting.
3. Sandpaper and Sanding Block: These tools are used to prepare the damaged area by removing any loose paint or rough edges. They also help in smoothing the surface before applying the body filler.
4. Primer and Paint: Once the dent has been repaired and the surface is smooth, you’ll need primer and paint to match your vehicle’s color. This will ensure a seamless finish after the dent removal process.
Step 3: Start the Repair Process
Now that your tools are ready, it’s time to begin the dent removal process.
1. Clean the Area: Clean the damaged area with soap and water. This will remove any dirt, debris, or wax that might interfere with the repair process.
2. Use the Dent Puller: If the dent is shallow and accessible, a dent puller can be used to pull the dent outward. Attach the suction cup or adhesive to the center of the dent, then pull steadily until the dent pops out. Remember to follow the instructions provided with the dent puller for optimal results.
3. Apply Body Filler: Auto body filler is your best bet for deeper dents. Begin by mixing the filler according to the manufacturer’s instructions. Apply the filler to the dent using a plastic spreader, ensuring it covers the entire damaged area. Smooth the surface with the spreader, removing any excess filler.
4. Sand and Shape: Once the body filler has hardened, use sandpaper and a sanding block to shape and smooth the repaired area. Start with coarse-grit sandpaper to remove excess filler, then switch to finer-grit sandpaper for a smoother finish. Continue sanding until the repaired area is level with the surrounding surface.
5. Prime and Paint: Clean the area again to remove any dust or debris after sanding. Apply a coat of automotive primer to the repaired area, following the manufacturer’s instructions. Once the primer has dried, sand it lightly to ensure a smooth surface. Finally, apply matching automotive paint, feathering the edges to blend it seamlessly with the surrounding paintwork.
Step 4: Finishing Touches and Expert Advice
Congratulations! You’ve successfully restored your vehicle’s beauty by removing that pesky dent. However, it’s important to note that these steps are just a general guide, and the complexity of dent removal can vary based on the extent of the damage. If you’re unsure or uncomfortable with the process, don’t hesitate to seek professional help.
Expert advice can make a significant difference in ensuring a flawless repair. Professional auto body repair technicians have the knowledge, experience, and specialized tools to tackle even the most challenging dents. They can provide expert guidance, assess the damage accurately, and deliver exceptional results, giving you peace of mind and saving you valuable time and effort.
Conclusion
Dent removal doesn’t have to be a daunting task. With the right tools, patience, and attention to detail, you can restore your vehicle’s appearance and regain your driving pride. If you’re uncertain about your skills or the severity of the damage, it’s always wise to consult a professional auto body repair shop.
At Eastwood, we understand the frustration of dealing with dents and other automotive imperfections. Dent removal doesn’t have to be a daunting task. With the right tools, patience, and attention to detail, you can restore your vehicle’s appearance and regain your driving pride.
Ready to tackle the dent yourself? Explore our wide range of high-quality automotive tools and products that make dent removal a breeze. From dent repair kits to paintless dent removal tools, we have everything you need to achieve professional results in your garage.