Setting Up A Wavlink AC1200 Extender: A Complete Guide
Using our detailed instructions, you can quickly configure your wavlink WiFi range extender. You may easily increase the WiFi signal range of your main router with the aid of this device. You can discover the correct steps for the Wavlink extender setup and login procedure in this post.
What Is Wavlink AC600 Extender?
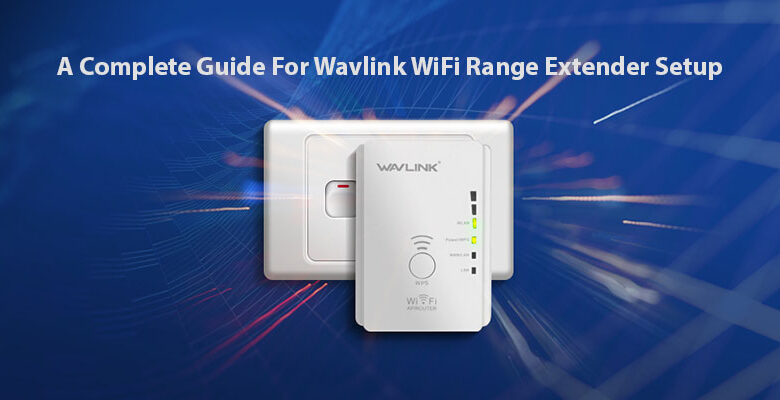
A dual-band WiFi range extender that utilizes both the 2.4GHz and 5GHz frequency bands is the Wavlink AC600 Extender. It is intended to strengthen an existing WiFi network’s wireless signal using 64/128-bit WEP and extend coverage to difficult-to-reach regions. Some of its specifications are as follows:
- IEEE Standards 802.11a/b/g/n/ac for wireless
- frequencies of 2.4 and 5 GHz
- Up to 600Mbps wireless speed (300Mbps at 2.4GHz and 300Mbps at 5GHz)
- Two external antennas.
- Wireless Security: WPA-PSK/WPA2-PSK, 64/128-bit WEP,
- One 10/100M Ethernet port is available.
- Maximum power consumption is 3W.
- Power Source: 50/60Hz, 100-240V AC.
The Wavlink AC600 Extender is an all-around small and simple-to-use gadget that can increase the range of your wireless network while giving your devices a strong and consistent signal.
How To Access The Wavlink Sign-In Page
- Start by inserting the Wavlink WiFi range extender device’s power plug into the outlet.
- Take the computer and join the Wavlink extender network at this point.
- Open Chrome on your PC after that, and in the location box, type wavlink.com.
- Now, fill out all the information requested on the login screen.
- To complete the extender login process, tap the login button at the end.
If you are unable to complete the login process, take into account the following advice.
Fix Wavlink Login Problems
Information About An IP Address
To access the web management page, your WiFi device must have the Wavlink device’s IP address. The DHCP capability, which is usually supported by Wavlink devices, is turned on by default. We advise setting up a manual IP address on your desktop and laptop so that you may access the extender’s web control page.
Find Navigational Settings
You can experience login troubles with the Wavlink WiFi range extender because of an outdated web browser. We advise you to occasionally update your web browser.
You can easily fix the Wavlink WiFi range extender login issue with the help of the aforementioned two methods.
Actions Necessary For Extender Configuration
- Need a router and extender of your own.
- Grab a power outlet that is on.
- Take one lengthy Ethernet cable for the connection as well.
Set Up Wavlink Extender
The Wavlink WiFi range extender can be configured in three different ways.
Setup Through The App
- Start by opening the Google Play Store on your Android smartphone.
- Now find and download the Wavlink application.
- Next, enter all the information requested on the app page.
- Then, provide all the necessary information requested on the page.
- Finally, take into account all of the display instructions that are listed on the application page.
Setup With WPS Button
- First, insert the Wavlink WiFi range extender’s power plug into the wall socket.
- Now, press the WPS buttons on the primary router and the extender.
- The WPS LED on the repeater and router device then begins to solidly blink.
- Since it indicates that your extender and router are now successfully connected.
Setup By An Ethernet Cable
- First, connect the ethernet wire’s one end to the extender’s ethernet port and the other to the router’s already-existing ethernet port.
- Launch Chrome after that, then type wifi.wavlink.com into the HTML box as the default web address.
- Study and take into account each point-to-point description before completing the Wavlink extender setup process.
With the aid of the aforementioned three techniques, the Wavlink AC1200 setup procedure is now successfully completed.
Troubleshoot Wavlink Extender Setup Errors
- Find the distances between the Wavlink repeater and router.
- Switch the Wavlink repeater on and off.
- The ideal position for your Wavlink repeater device should be chosen.
- Change the existing cable with a new one.
- Check the Wavlink repeater device’s LED status.
Update The Firmware For Wavlink Extender
- Launch the search engine first, then go to the default web page.
- You are now on the web management page for the Wavlink extender.
- Then, pick the firmware upgrade option after searching for an administrator option.
- Finally, let your PC or laptop take a few minutes to finish installing the most recent firmware file.
Do Factory Reset
You can simply locate the reset hole button on the device’s side or rear. Now, use a hairpin to press the button. The Wavlink extender LEDs will all now go out. The extender device has now been totally reset, so to speak.
Note: You must repeat the setup procedure after the Wavlink repeater device has been reset.
Tip: If your home has Wavlink extenders with various model numbers, such as the model AC600, and you require login and configuration information, all you have to do is go to the Wavlink AC600 setup page and carefully read through all the instructions.
Now that you’ve read this page, you may quickly log in and configure the Wavlink AC1200 extender without the assistance of a technician specialist. If you experience any problems after setup, you can also fix them by attempting the options mentioned above. Share this article with other Wavlink device owners.


